You won’t believe how easy it is to nail DIY wedding photography! Start by embracing natural light; it softens everything during those golden hours. Next, play with composition—try the rule of thirds and don’t shy away from fun angles! Get cozy with your camera gear; knowing your settings makes a world of difference. Keep your eyes peeled for those candid moments—they’re pure magic! Finally, don’t forget to polish your photos with some editing for that professional touch. Stick around, and you’ll learn even more tips!
Design Highlights
- Utilize natural light during golden hour for dreamy wedding photos and open curtains indoors to maximize available light.
- Apply the rule of thirds for better composition by positioning key elements along grid lines or intersections.
- Keep your camera ready for candid moments; blend into the background to capture genuine emotions and interactions.
- Familiarize yourself with manual settings on your camera for greater control, especially in varying light conditions.
- Edit your photos using user-friendly software, adjusting brightness, contrast, and cropping distractions for a polished finish.
Understand the Importance of Lighting
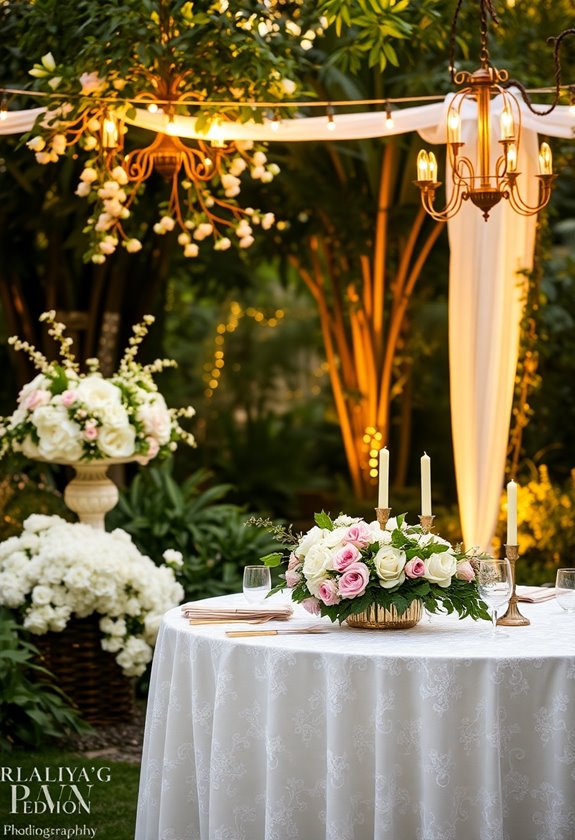
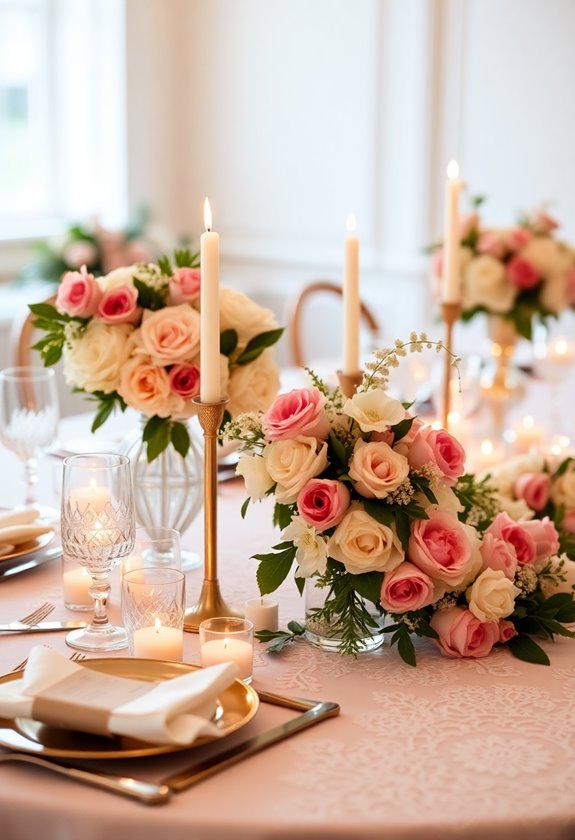
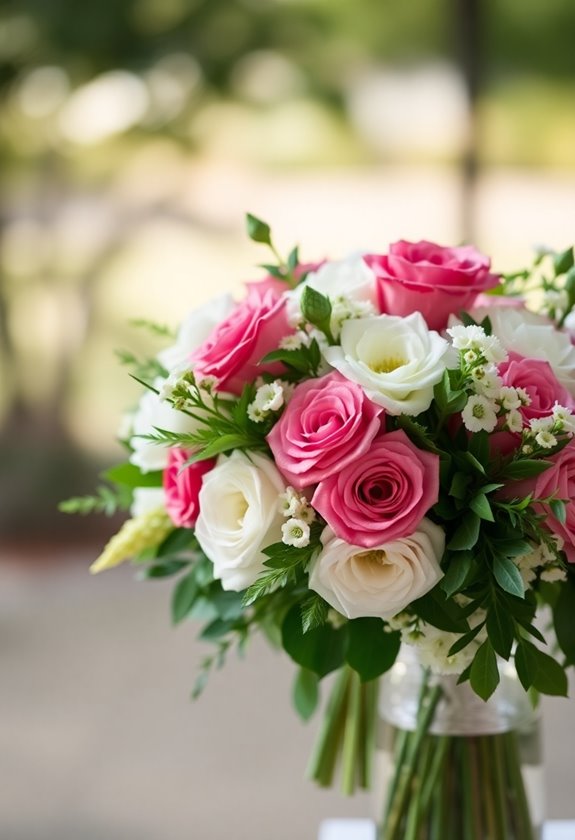
When it comes to DIY wedding photography, lighting is everything—like the secret ingredient in your favorite recipe. Imagine capturing that perfect moment, but the lighting’s all wrong. You’d miss the magic! Natural light is your best friend, so try to shoot during golden hour, when the sun’s soft rays create a dreamy glow. If you’re indoors, open those curtains and let the light flood in! Don’t forget to avoid harsh shadows by positioning your subjects away from direct light. Trust me, you’ll feel like a pro when you see those beautiful, well-lit photos. Safe lighting means stunning memories! Additionally, consider incorporating seasonal floral arrangements into your shots, as they can enhance the overall aesthetic and complement the natural light beautifully.
Master Basic Composition Techniques
Capturing the perfect shot goes beyond just great lighting; it’s about how you frame your subjects, too. Start with the rule of thirds—imagine a tic-tac-toe grid over your scene. Place key elements along those lines or at their intersections. Don’t forget about leading lines; they guide the viewer’s eye toward your main subject, adding depth. Experiment with angles, too; a low shot can make your couple look like giants of love! Additionally, consider incorporating themed wedding photography ideas to add a unique touch to your portfolio. Remember, practice makes perfect, so snap away, even if it feels silly at first. Embrace those quirks, and your wedding photos will shine with personality and warmth!
Utilize Your Camera Gear Effectively
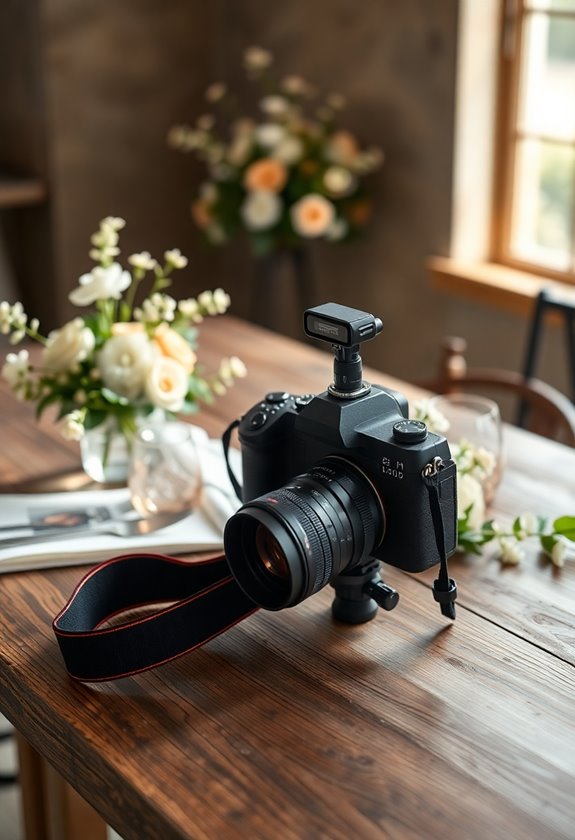
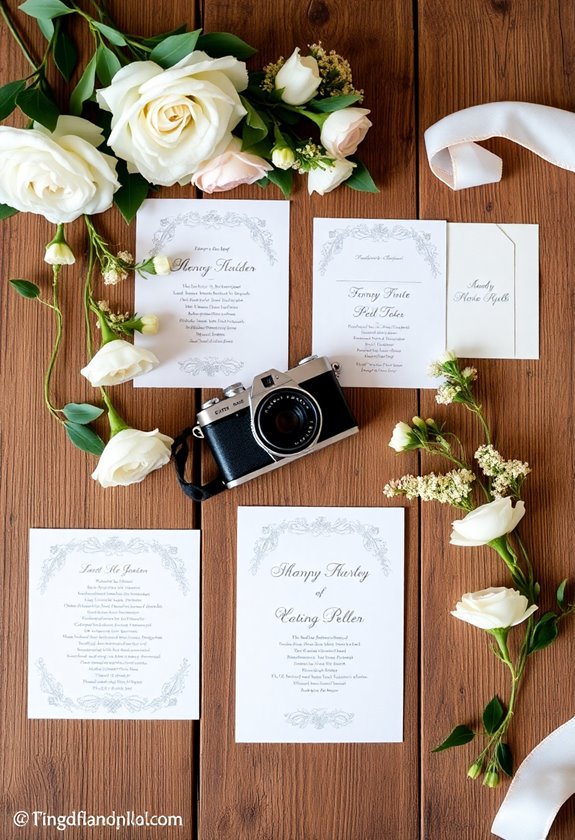
While you might feel overwhelmed by all the buttons and settings on your camera, learning to use your gear effectively can transform your wedding photography. Start by familiarizing yourself with your camera’s modes—use manual mode for control, or aperture priority for soft backgrounds. Don’t forget about your lenses! A fast lens can work wonders in low light, like during the reception. Remember to check your battery and memory card before the big day, too; you don’t want to miss that perfect moment! Additionally, understanding your videographer’s experience can help you coordinate and capture those unforgettable memories more effectively. Trust me, feeling comfortable with your gear can give you the confidence to capture those unforgettable memories.
Capture Candid Moments
Once you’ve got a good handle on your camera gear, it’s time to focus on one of the most magical aspects of wedding photography: capturing those candid moments. Keep your camera close and be ready to snap away when laughter erupts or tearful hugs happen. Blend into the background—people are often more natural when they don’t feel watched. Remember, some of the best shots come from unexpected angles, so don’t hesitate to experiment! Just make sure you’re safe, avoiding any crowded areas where you might trip or bump into someone. Your goal is to preserve those beautiful, unguarded emotions forever. Additionally, be mindful of candid wedding moments that truly reflect the couple’s personality, as these will be cherished for years to come.
Edit Your Photos for a Professional Finish
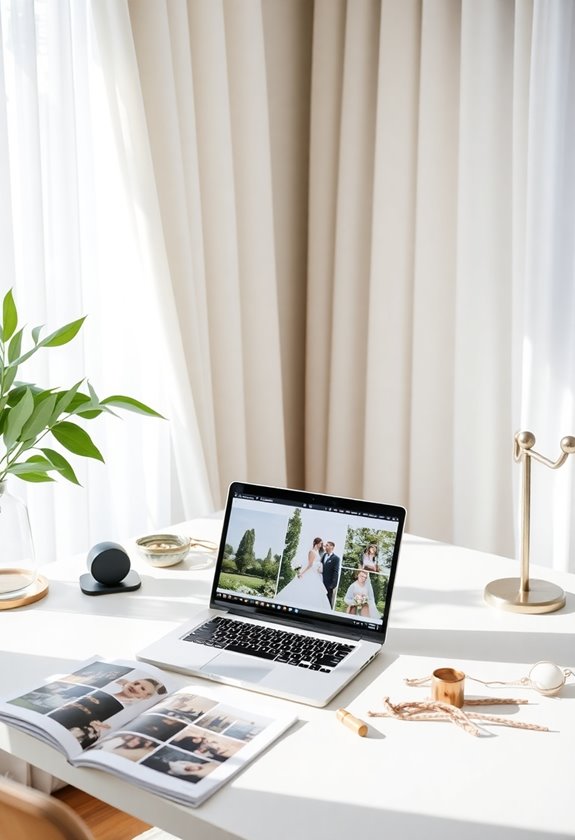
Editing your photos can feel a bit overwhelming, especially when you’re trying to make them look as amazing as the day felt. Don’t worry! Here are some simple steps to guide you:
- Choose a user-friendly editing software that suits your skill level.
- Adjust brightness and contrast to enhance colors and details.
- Crop distractions out of the frame, focusing on the happy couple.
- Apply filters sparingly for a subtle, polished look.
Taking time to edit will help you capture the spirit of the day, ensuring those special moments shine bright in your memories. Remember, mastering DIY wedding photography can significantly elevate your final images. You’ve got this!
Frequently Asked Questions
What Type of Camera Is Best for Wedding Photography?
When you’re diving into wedding photography, a DSLR or mirrorless camera’s your best friend. They give you control over settings, which helps capture beautiful moments. Look for one with good low-light performance—weddings often happen in dim places. A versatile zoom lens can cover everything from close-ups to wide shots, so you won’t miss a thing! Trust me, having the right gear can make all the difference in creating those cherished memories.
How Should I Prepare for Unexpected Weather Conditions?
When life hands you lemons, make lemonade! For unexpected weather, always check the forecast before the big day. Pack an umbrella, extra blankets, and a raincoat just in case. If it looks like rain, scout indoor spots for beautiful photos. Remember, cloudy skies can create stunning, soft lighting! Your goal is to keep everyone comfortable and happy, so a little preparation goes a long way. After all, a wedding’s joy shouldn’t be dampened!
What Are the Best Times for Outdoor Wedding Photos?
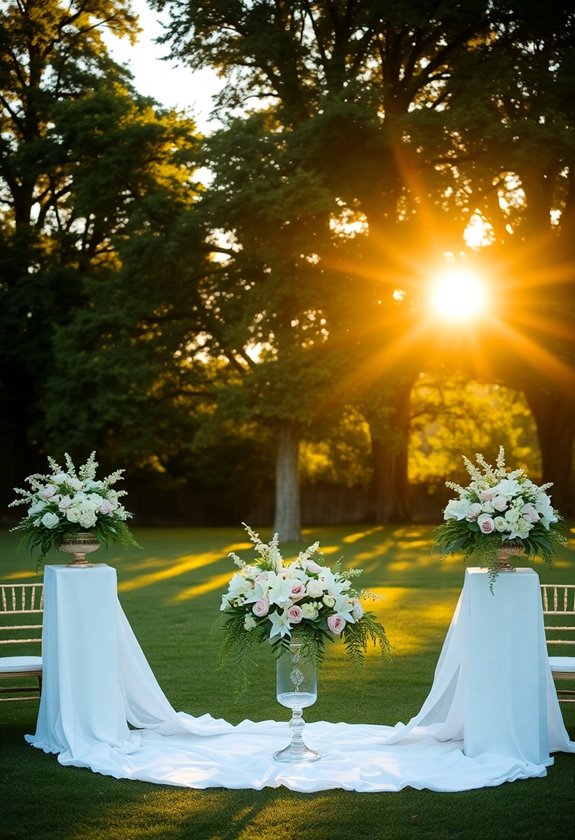
When you’re planning outdoor wedding photos, the best times are usually early morning or late afternoon. The soft light makes everything look dreamy, and you won’t squint into the sun like a deer in headlights! Trust me, those golden hours create stunning backdrops. If you’re worried about the heat, these times keep everyone comfortable, too. Plus, you might snag a few magical moments as the sun sets. It’s all about capturing those smiles!
How Can I Communicate Effectively With the Couple?
So, you’re wondering how to chat with the couple? Think of it like a dance—step lightly! Start with a warm smile and ask about their vision. Trust me, listening’s key; it’s like finding the perfect song for their big day. Share your ideas, but keep it fun! Toss in a little humor, like how you won’t make them do awkward poses. Remember, it’s their love story, so make sure they feel it!
Should I Consider Hiring a Second Shooter?
You should definitely consider hiring a second shooter! It can be super helpful, especially during busy moments, like the ceremony and reception. A second shooter captures different angles and candid moments you might miss. Plus, they can help manage lighting and crowds, keeping things smooth. I remember trying to juggle everything solo at my first wedding, and it was chaotic! Having that extra set of hands can make your day a lot easier and more fun!